Send temperature & humidity data with Raspberry Pi Pico W
This guide walks through reading temperature and humidity with a Raspberry Pi Pico W and DHT11, sending the data to MiniViz, and visualizing it.
It is a good fit for IoT prototypes and beginner electronics projects.
What We'll Do
Use a Raspberry Pi Pico W and a DHT11 temperature/humidity sensor to read values and visualize them on MiniViz.
Required Items
- Raspberry Pi Pico W (referred to below as “Pico”)
- DHT11 (temperature & humidity sensor)
- Breadboard and jumper wires
- MicroPython environment
- MiniViz project ID and token
Wire the Pico and DHT11
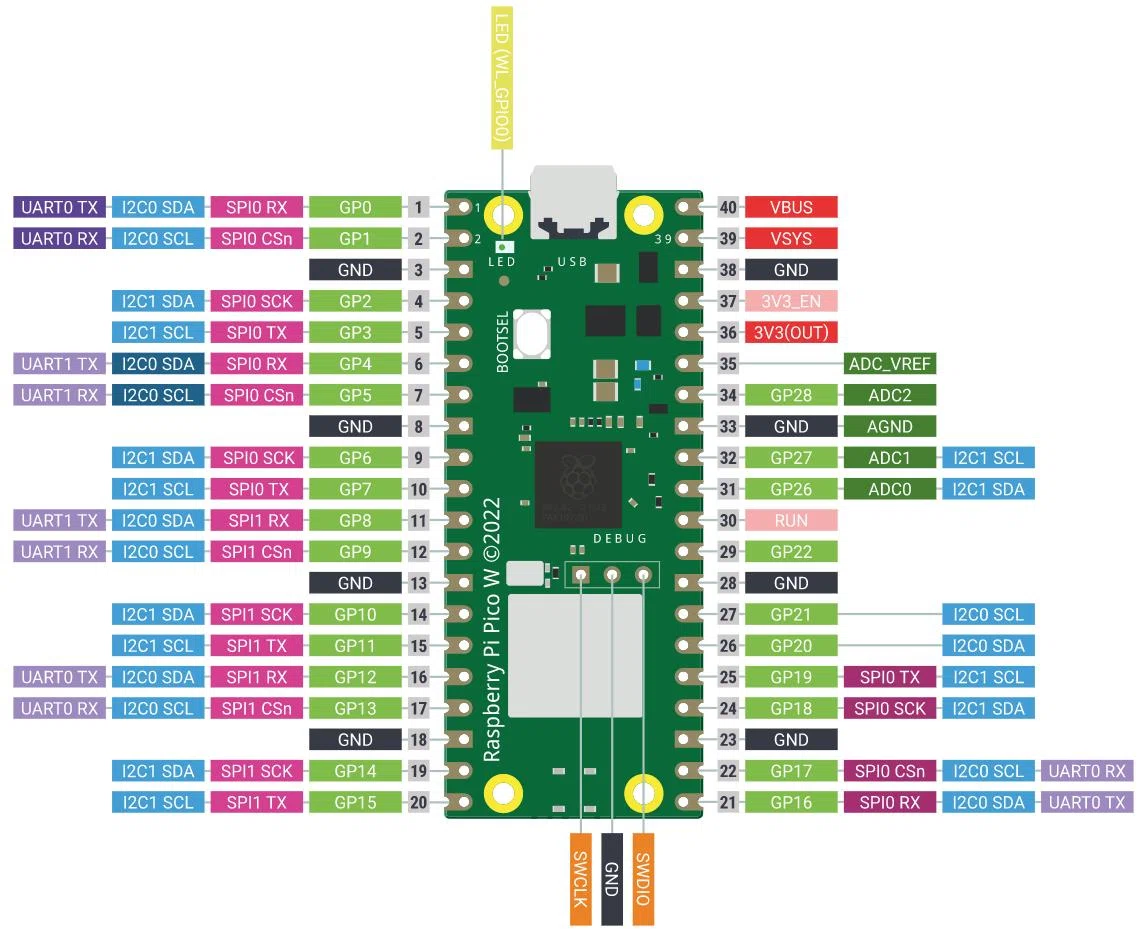
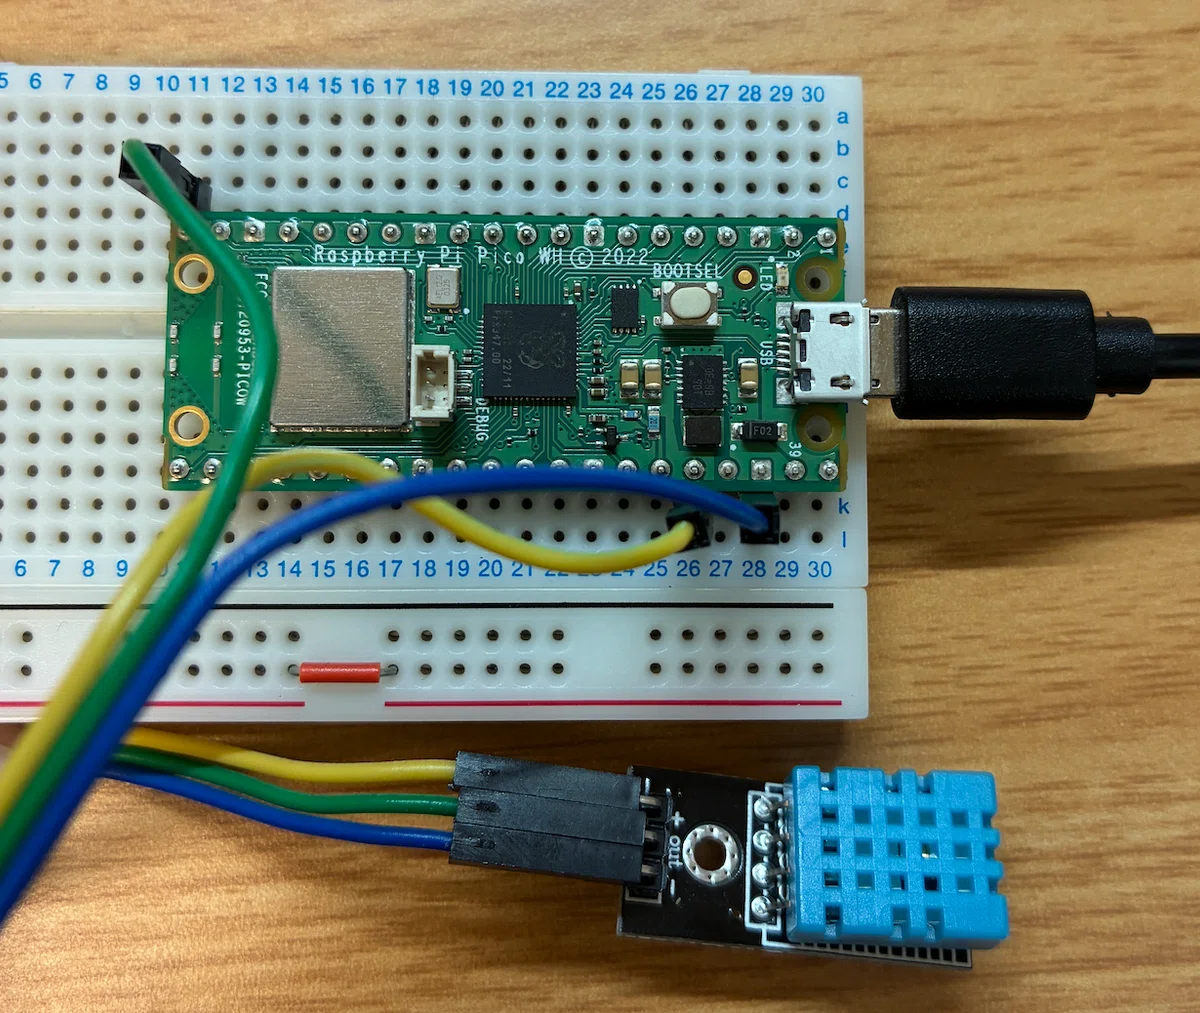
Wire the circuit as shown in the photo.
Pin assignment
| Pico pin | Connection | Role |
|---|---|---|
36 | VCC | Power |
20 (GP15) | DATA | Signal |
38 | GND | Ground |
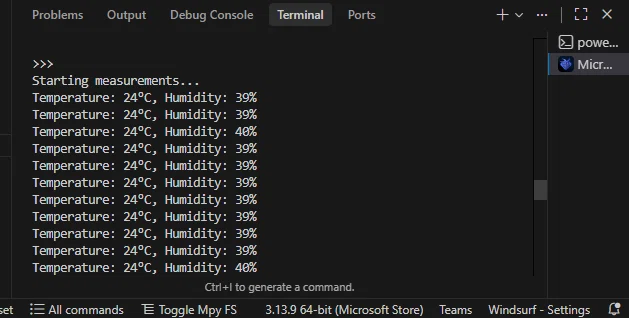
Acquire Data
Set Up VS Code / MicroPython
This guide uses the MicroPython extension for VS Code.
- Install the
MicroPicoextension It helps manage communication with the Pico and transferring code in one place. - Run
MicroPico: Configure projectfrom the Command Palette (Ctrl+Shift+P) This creates Pico-specific completion and connection settings in the folder.


Install Pico Firmware
- Download the
UF2file for your board (Pico or Pico W) from the official site. - Hold the
BOOTSELbutton while connecting USB. - When the Pico appears as a removable drive, copy the
UF2file onto it. - After it reboots automatically, you are ready.
MicroPython on Raspberry Pi Pico
Data acquisition script
Once the environment is set up, run the sample script below. The onboard LED blinks when data is read successfully.
Sample Code
This is the full version of the code used in this guide.
- Python (MicroPython)
import network
import urequests
import time
import machine
import dht
import ntptime

# ================= Configuration =================
WIFI_SSID  = "YOUR_WIFI_SSID"       # Wi-Fi SSID
WIFI_PASS  = "YOUR_WIFI_PASSWORD"   # Wi-Fi Password
PROJECT_ID = "YOUR_PROJECT_ID"      # MiniViz Project ID
TOKEN      = "YOUR_TOKEN"           # MiniViz API Token
LABEL_KEY  = "PicoW_DHT"            # Label for the device
SEND_INTERVAL = 120                 # Interval between sends (seconds)
# =================================================

# Hardware Setup
dht_sensor = dht.DHT11(machine.Pin(15))
try:
    led = machine.Pin("LED", machine.Pin.OUT)
except ValueError:
    led = machine.Pin(25, machine.Pin.OUT)

def connect_wifi():
    """Connect to Wi-Fi and sync time via NTP"""
    wlan = network.WLAN(network.STA_IF)
    wlan.active(True)
    wlan.connect(WIFI_SSID, WIFI_PASS)

    print(f"Connecting to {WIFI_SSID}...", end="")
    while not wlan.isconnected():
        led.toggle()
        time.sleep(0.5)

    print("\n✅ Wi-Fi Connected!")
    led.off()

    # Attempt time synchronization using NTP
    ntptime.host = "ntp.nict.jp"
    try:
        print("Syncing time via NTP...", end="")
        ntptime.settime()
        print(" Done!")
    except:
        print(" Failed (Using internal clock)")

def send_data_to_miniviz(temp, hum):
    """Send measurement data to MiniViz and log details"""
    url = f"https://api.miniviz.net/api/project/{PROJECT_ID}"
    headers = {"Authorization": f"Bearer {TOKEN}"}

    # Calculate UNIX timestamp in milliseconds
    # Assuming time.time() is synced to 1970 Epoch
    unix_time_sec = time.time()
    ts_ms = int(unix_time_sec * 1000)

    # Create MiniViz-compliant payload
    payload = {
        "timestamp": ts_ms,
        "label_key": LABEL_KEY,
        "payload": {
            "temperature": temp,
            "humidity": hum
        }
    }

    print("\n" + "=" * 40)
    print("📡 Data Packet Prepared")
    print(f"  [Timestamp] {ts_ms}")
    print(f"  [Label]     {LABEL_KEY}")
    print(f"  [Metrics]   Temp: {temp}°C, Humidity: {hum}%")
    print("-" * 40)

    try:
        print("🚀 Sending request to MiniViz...", end="")
        res = urequests.post(url, headers=headers, json=payload)

        if res.status_code in [200, 201]:
            print(f"\n✅ Success! (Status: {res.status_code})")
            print(f"  Response: {res.text}")
            # Blink LED twice on successful transmission
            for _ in range(2):
                led.on()
                time.sleep(0.1)
                led.off()
                time.sleep(0.1)
        else:
            print(f"\n❌ Server Error (Status: {res.status_code})")
            print(f"  Reason: {res.text}")

        res.close()
    except Exception as e:
        print(f"\n⚠️ Network/Connection Error: {e}")
    print("=" * 40)

def main():
    connect_wifi()

    print("\nStarting Telemetry (Ctrl+C to stop)")

    while True:
        try:
            # Read from sensor
            dht_sensor.measure()
            t = dht_sensor.temperature()
            h = dht_sensor.humidity()

            # Send data
            send_data_to_miniviz(t, h)

        except OSError as e:
            print(f"❌ Sensor Read Error: {e}")

        # Wait for the next interval
        time.sleep(SEND_INTERVAL)

if __name__ == "__main__":
    main()
Send to MiniViz
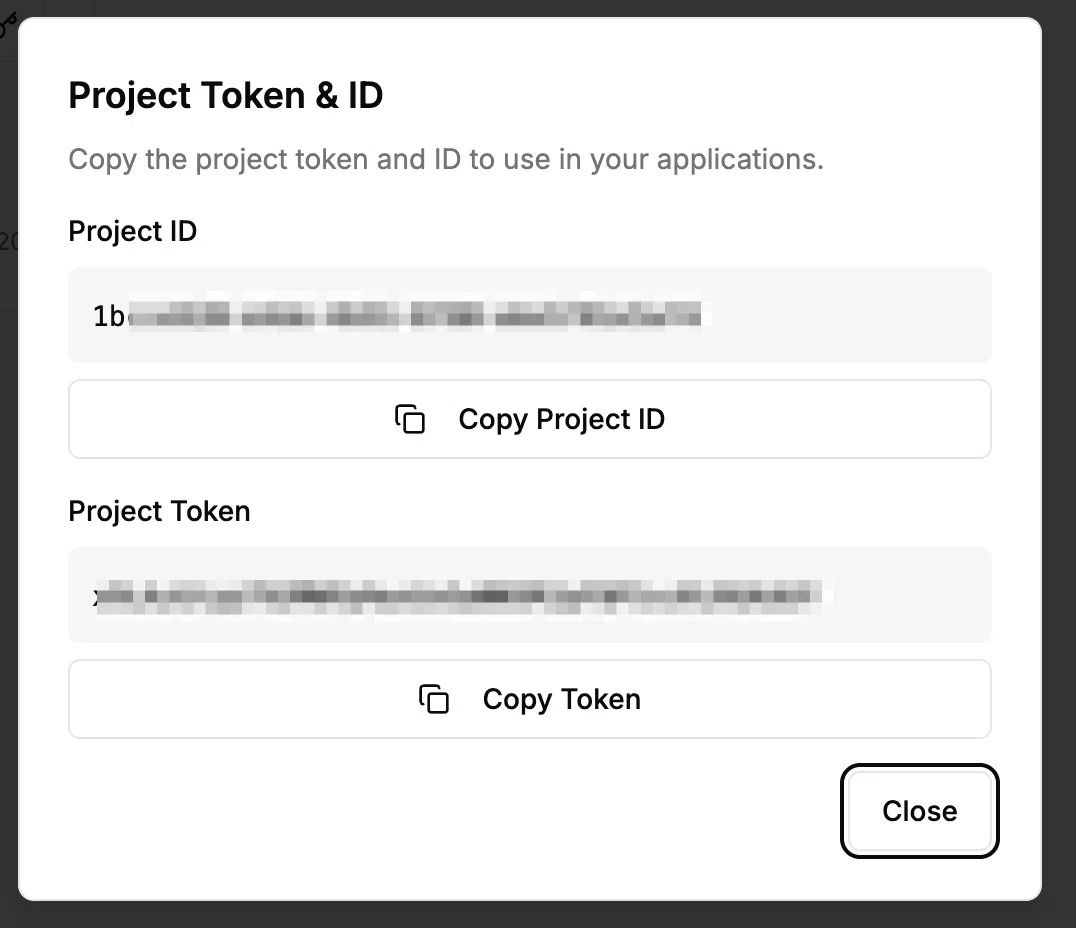
Get project ID and token
Extend the previous code with Wi-Fi, time sync, and HTTP requests to send data to MiniViz.
Create a project and obtain the project ID and token. See the quick start for details.
Source code to send to MiniViz
Replace Wi-Fi credentials, project ID, and token with your own values.
import network
import urequests
import time
import machine
import dht
import ntptime

# ================= Configuration =================
WIFI_SSID  = "YOUR_WIFI_SSID"       # Wi-Fi SSID
WIFI_PASS  = "YOUR_WIFI_PASSWORD"   # Wi-Fi Password
PROJECT_ID = "YOUR_PROJECT_ID"      # MiniViz Project ID
TOKEN      = "YOUR_TOKEN"           # MiniViz API Token
LABEL_KEY  = "PicoW_DHT"            # Label for the device
SEND_INTERVAL = 120                 # Interval between sends (seconds)
# =================================================

# Hardware Setup
dht_sensor = dht.DHT11(machine.Pin(15))
try:
    led = machine.Pin("LED", machine.Pin.OUT)
except ValueError:
    led = machine.Pin(25, machine.Pin.OUT)

def connect_wifi():
    """Connect to Wi-Fi and sync time via NTP"""
    wlan = network.WLAN(network.STA_IF)
    wlan.active(True)
    wlan.connect(WIFI_SSID, WIFI_PASS)

    print(f"Connecting to {WIFI_SSID}...", end="")
    while not wlan.isconnected():
        led.toggle()
        time.sleep(0.5)

    print("\n✅ Wi-Fi Connected!")
    led.off()

    # Attempt time synchronization using NTP
    ntptime.host = "ntp.nict.jp"
    try:
        print("Syncing time via NTP...", end="")
        ntptime.settime()
        print(" Done!")
    except:
        print(" Failed (Using internal clock)")

def send_data_to_miniviz(temp, hum):
    """Send measurement data to MiniViz and log details"""
    url = f"https://api.miniviz.net/api/project/{PROJECT_ID}"
    headers = {"Authorization": f"Bearer {TOKEN}"}

    # Calculate UNIX timestamp in milliseconds
    # Assuming time.time() is synced to 1970 Epoch
    unix_time_sec = time.time()
    ts_ms = int(unix_time_sec * 1000)

    # Create MiniViz-compliant payload
    payload = {
        "timestamp": ts_ms,
        "label_key": LABEL_KEY,
        "payload": {
            "temperature": temp,
            "humidity": hum
        }
    }

    print("\n" + "=" * 40)
    print("📡 Data Packet Prepared")
    print(f"  [Timestamp] {ts_ms}")
    print(f"  [Label]     {LABEL_KEY}")
    print(f"  [Metrics]   Temp: {temp}°C, Humidity: {hum}%")
    print("-" * 40)

    try:
        print("🚀 Sending request to MiniViz...", end="")
        res = urequests.post(url, headers=headers, json=payload)

        if res.status_code in [200, 201]:
            print(f"\n✅ Success! (Status: {res.status_code})")
            print(f"  Response: {res.text}")
            # Blink LED twice on successful transmission
            for _ in range(2):
                led.on()
                time.sleep(0.1)
                led.off()
                time.sleep(0.1)
        else:
            print(f"\n❌ Server Error (Status: {res.status_code})")
            print(f"  Reason: {res.text}")

        res.close()
    except Exception as e:
        print(f"\n⚠️ Network/Connection Error: {e}")
    print("=" * 40)

def main():
    connect_wifi()

    print("\nStarting Telemetry (Ctrl+C to stop)")

    while True:
        try:
            # Read from sensor
            dht_sensor.measure()
            t = dht_sensor.temperature()
            h = dht_sensor.humidity()

            # Send data
            send_data_to_miniviz(t, h)

        except OSError as e:
            print(f"❌ Sensor Read Error: {e}")

        # Wait for the next interval
        time.sleep(SEND_INTERVAL)

if __name__ == "__main__":
    main()
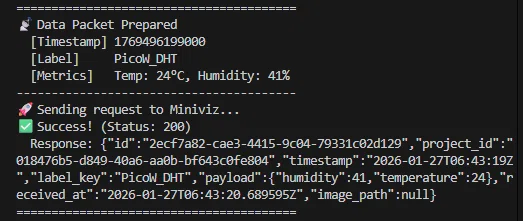
When you run it, transmission logs appear in the console.
Verify on MiniViz
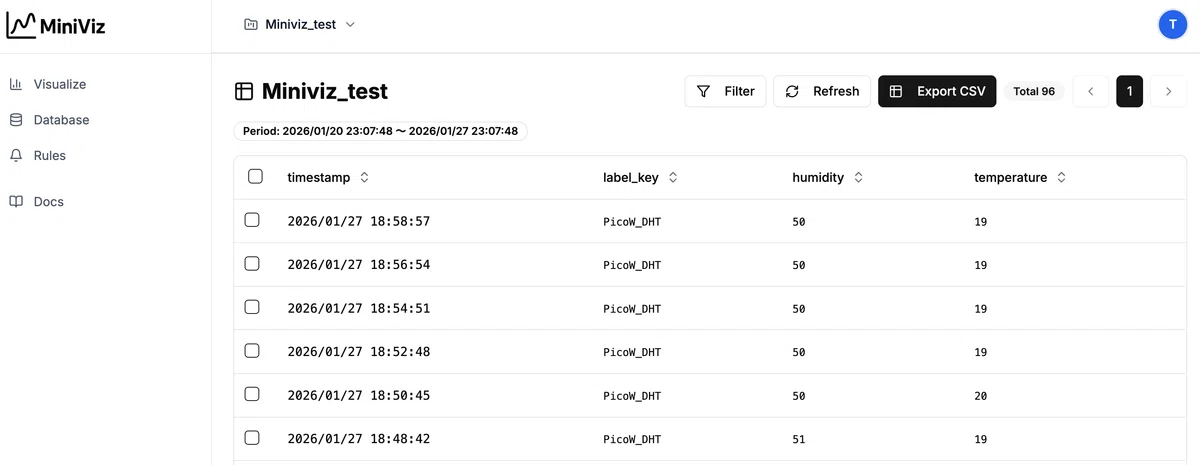
Open the Database menu to inspect the data you sent.
It may take about 30 seconds to show up.
Create graphs
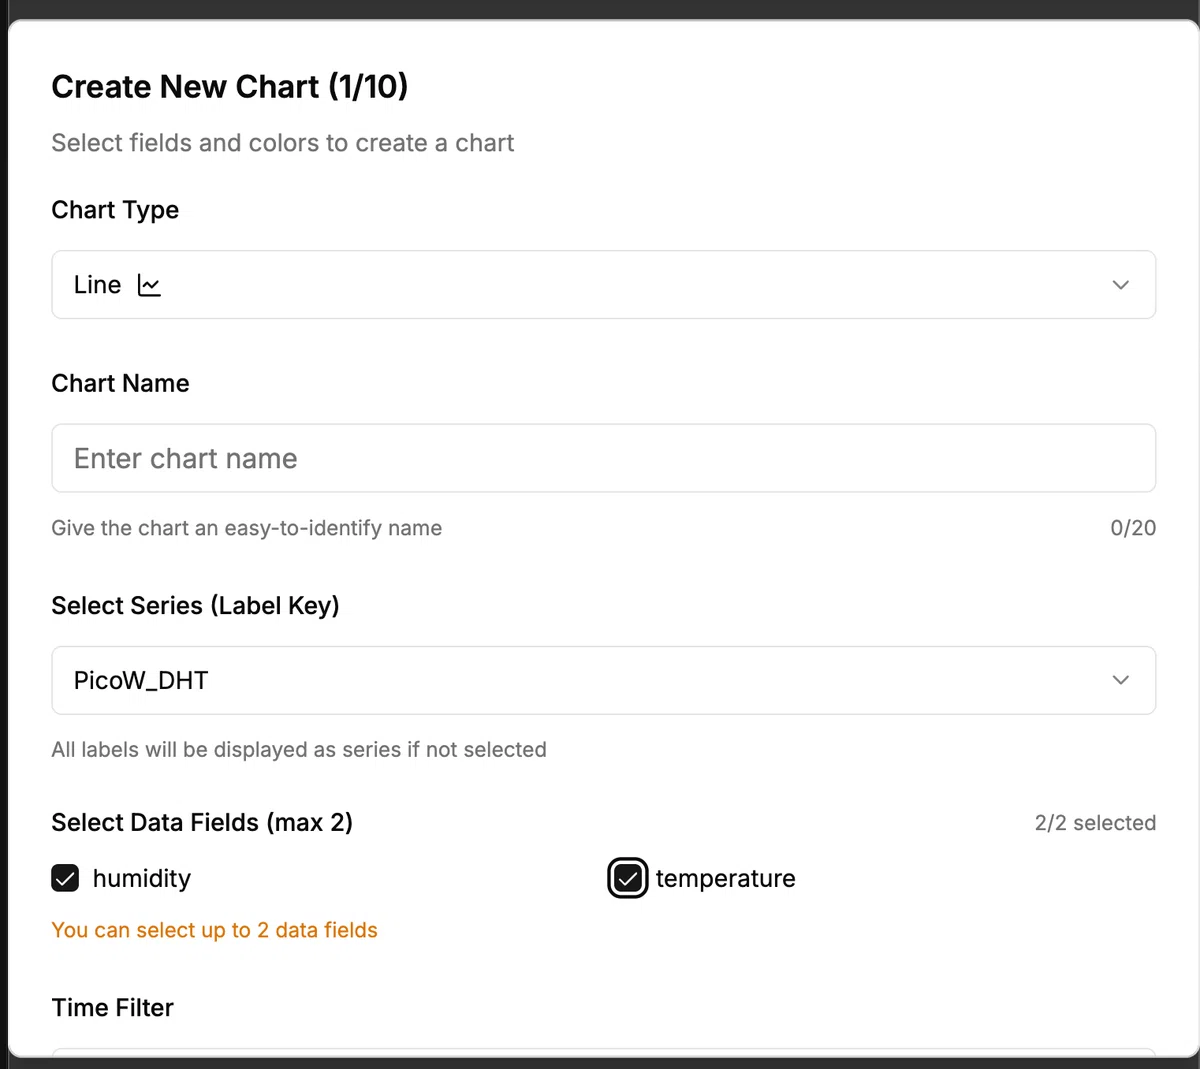
Use the Viz menu to build charts.
This example uses a line chart.
Summary
This guide showed how to visualize temperature and humidity with a Raspberry Pi Pico.
MiniViz also supports many other sensor payloads and images—give them a try.
Beta program
We are looking for participants to try the Pro plan. Individuals, students, and companies who can use the product and share feedback may receive Pro access for a limited time. Contact us or DM for details.
A regular 2-week free trial is also available. The Pro plan supports images as well—worth exploring.