quickstart
description: Send your first IoT data to MiniViz with curl or Python, verify it in the database, and create a chart in minutes.
Quick Start
This page is the fastest way to confirm that MiniViz works for your device workflow. Use it when you want to send sample sensor data with a simple HTTP POST, see the record in the database, and create your first chart in about 5 minutes before writing full device code.
AI can help you implement and support faster. See the AI Guide on the Intro page for details.
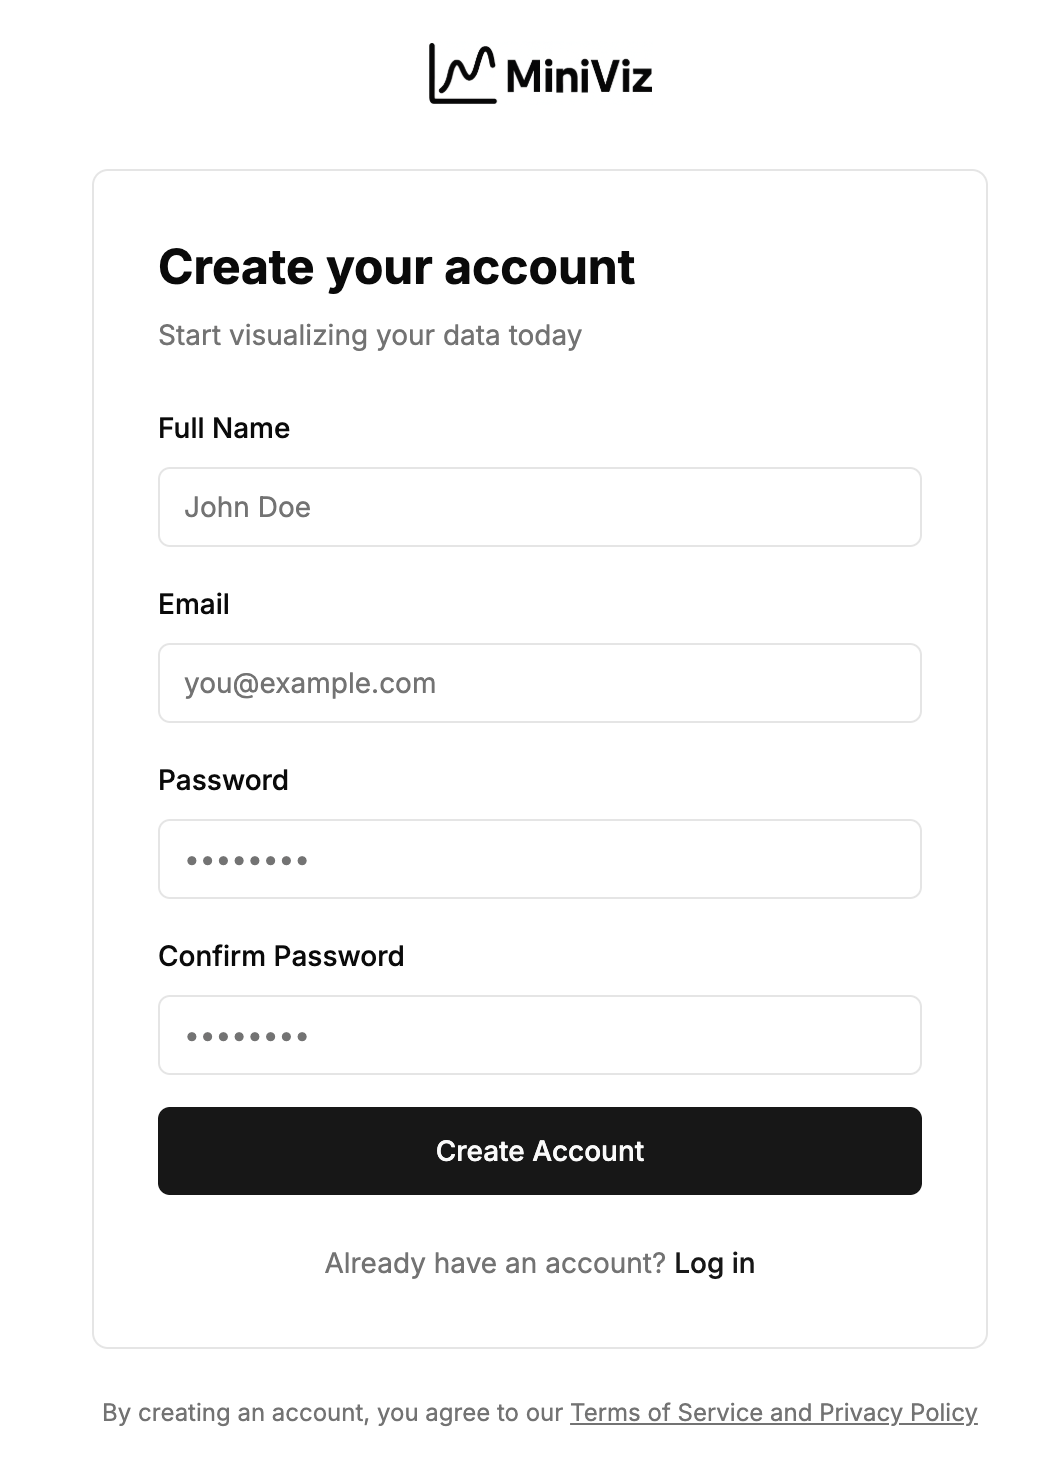
1. Create MiniViz Account / Login
Enter your email address and password to create a new account, or log in with an existing account.
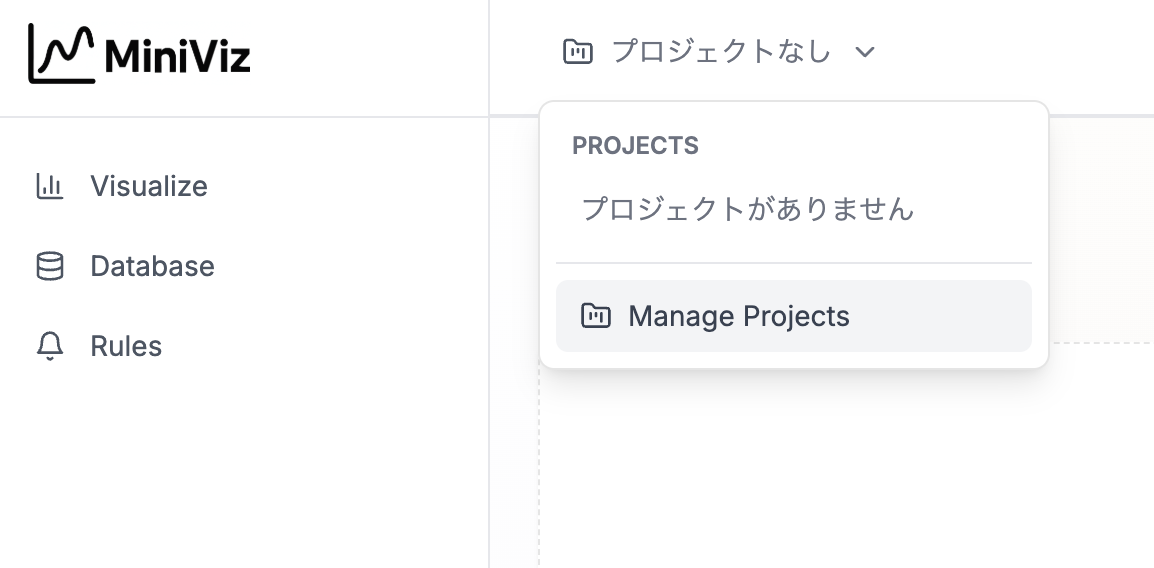
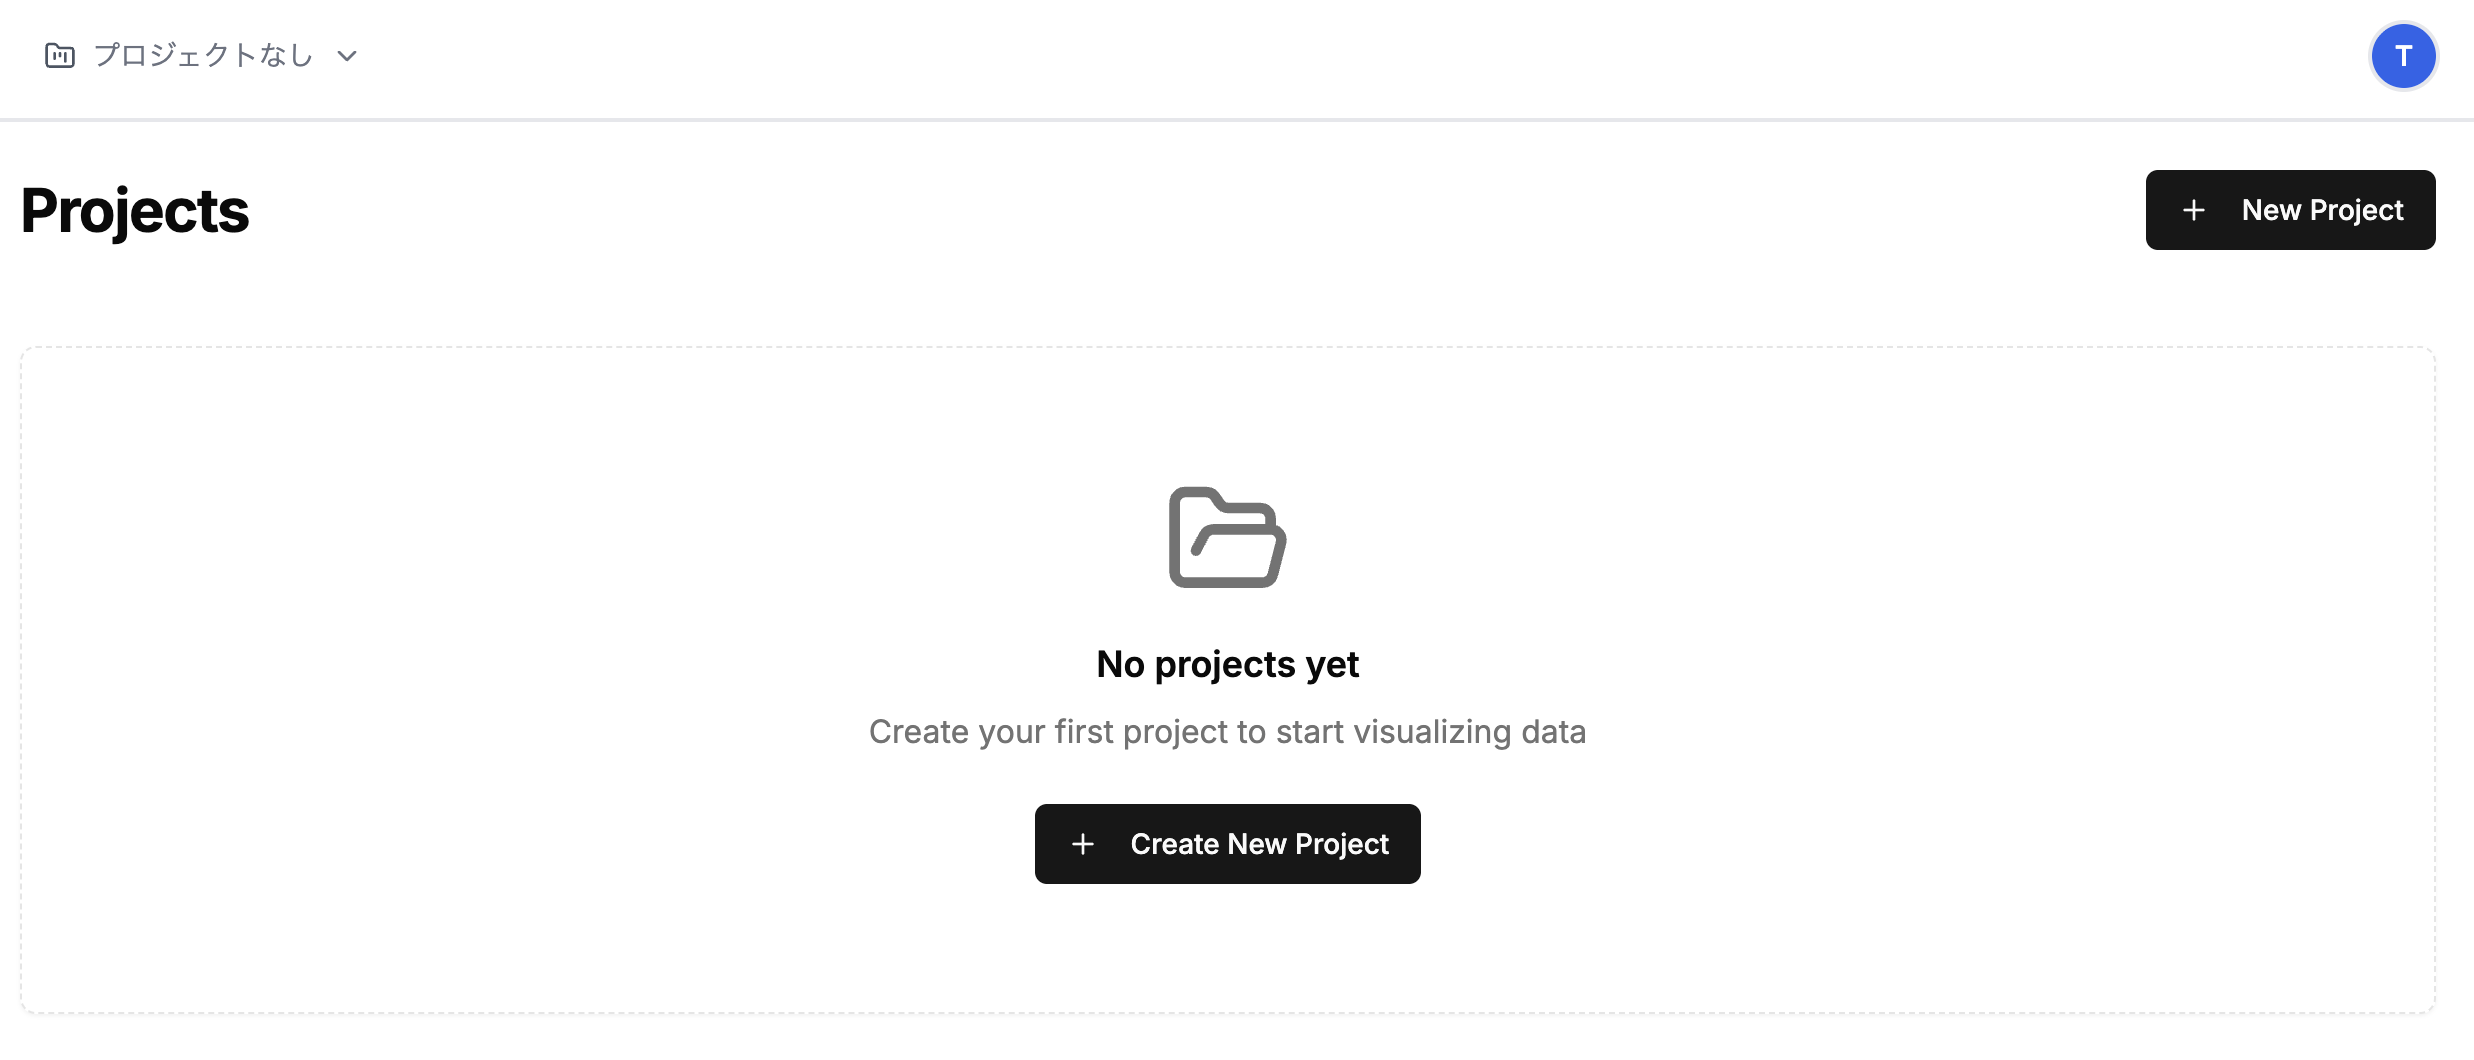
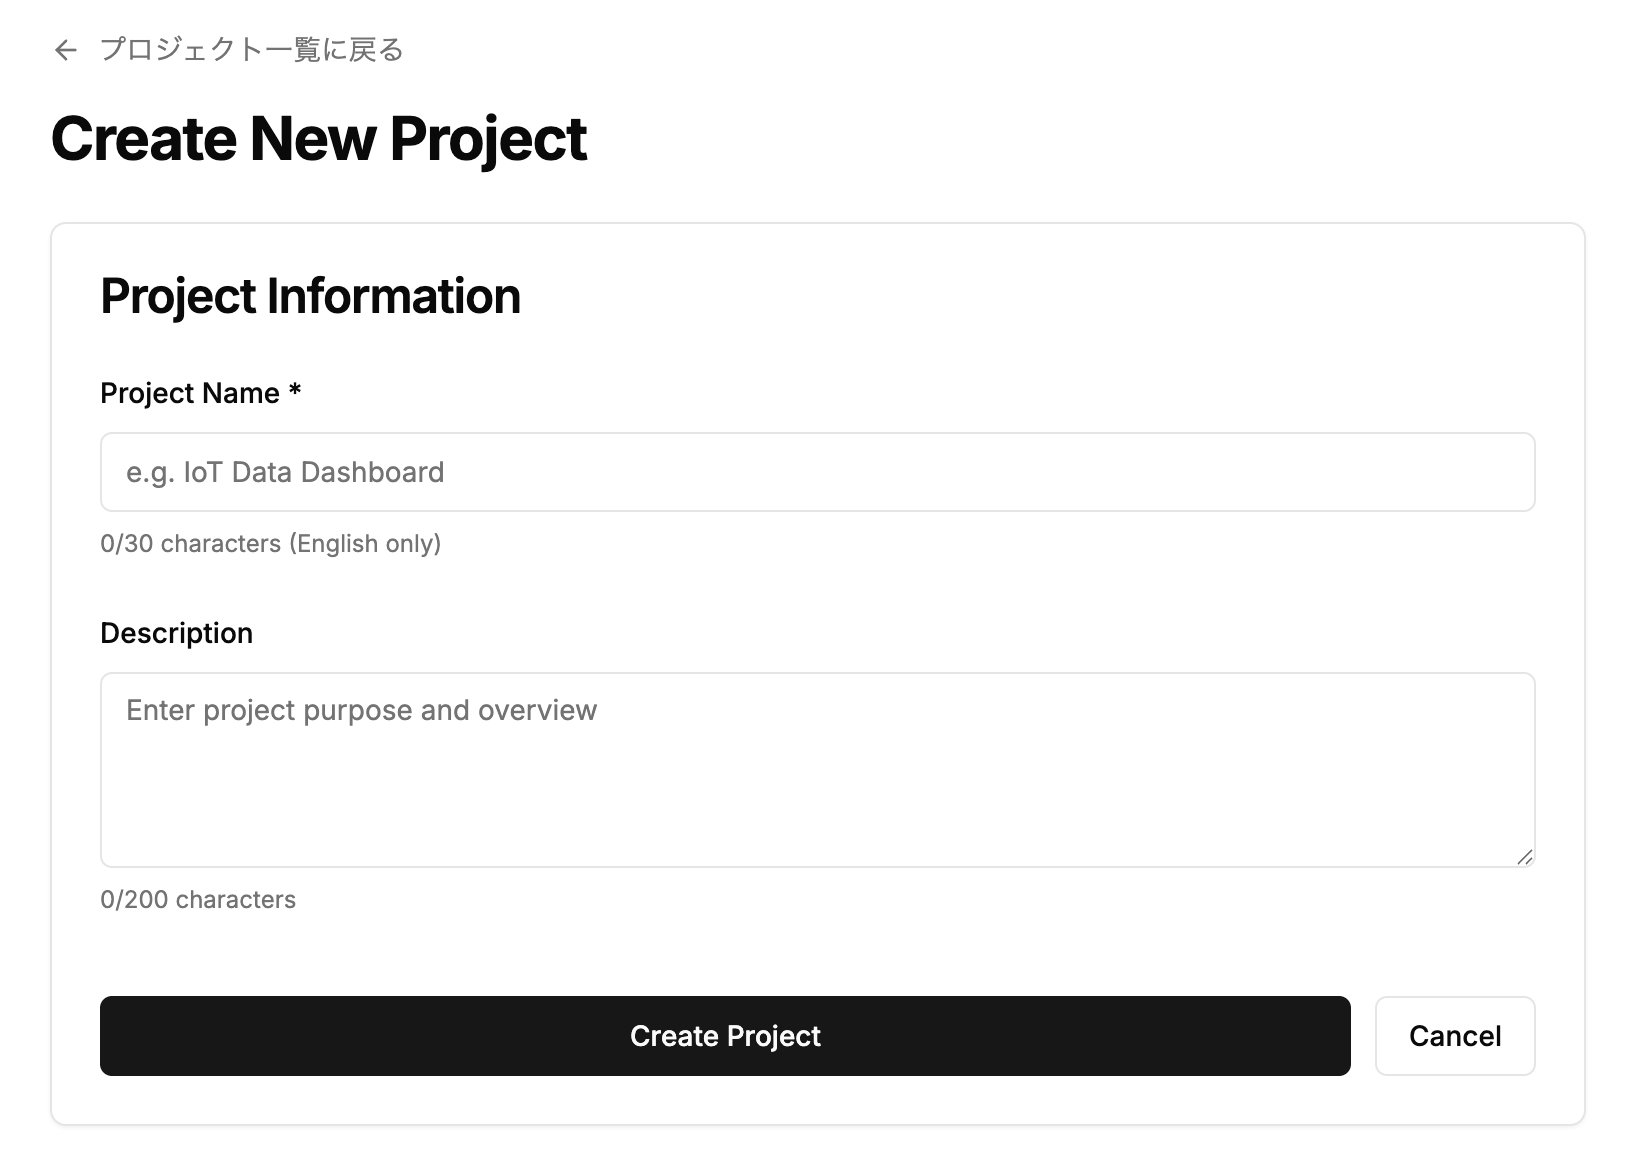
2. Create Project
Create a project to manage your data.
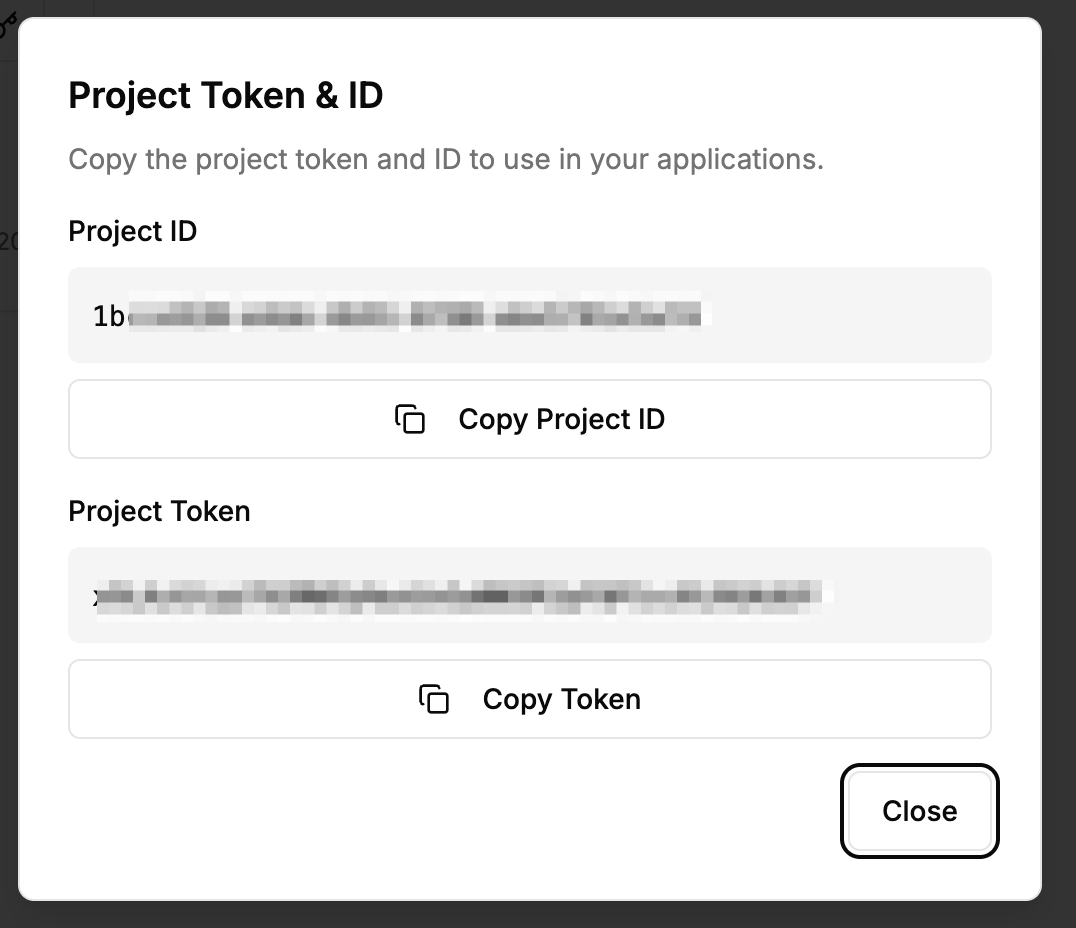
Copy Project ID and Token
Copy the Project ID and Token as they will be needed in the next step.
Click the token icon on the right
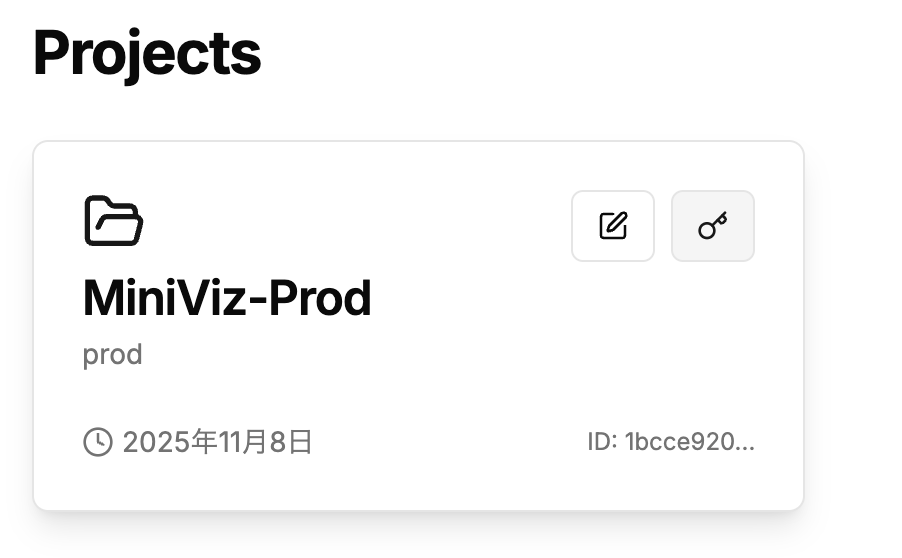
The token copied here will be used on the device side.
3. Send Data (Device Side)
Send data from the device side. We recommend first testing data transmission with curl commands or a simple Python script.
API Endpoint
POST https://api.miniviz.net/api/project/{project_id}
Request Overview
Data transmission to MiniViz API uses the POST method. The request body is in JSON format.
Send the project token with the Authorization: Bearer {token} header. The legacy ?token={token} query parameter is still supported for compatibility.
Request Body
| Field Name | Type | Required | Description |
|---|---|---|---|
timestamp | number | Yes | Transmission time (UNIX time in milliseconds) |
label_key | string | Yes | Label to identify the source, such as device name or location |
payload | object | Yes | Actual measurement values to send. Specify any metric name as the key, and a number or string as the value |
payloadsupports numbers and strings. You can freely add any metrics.
Request Example
{
  "timestamp": 1731129600000,
  "label_key": "raspberry_pi_home",
  "payload": {
    "temperature": 25,
    "humidity": 55,
    "switch": "true",
    "system_status": "running"
  }
}
curl Command (Linux/MacOS)
timestamp_ms=$(( $(date -u +%s) * 1000 ))

curl -X POST \
  "https://api.miniviz.net/api/project/{project_id}" \
  -H "Content-Type: application/json" \
  -H "Authorization: Bearer {token}" \
  -d "{
        \"timestamp\": ${timestamp_ms},
        \"label_key\": \"Local_PC\",
        \"payload\": {
          \"temperature\": 25,
          \"humidity\": 55,
          \"switch\": \"true\",
          \"system_status\": \"running\"
        }
      }"
Python
Sample Code
This is the full version of the code used in this guide.
- Python
import os
import time
from datetime import datetime, timezone
import json
import random
import requests

PROJECT_ID = "MINIVIZ_PROJECT_ID"
TOKEN = "MINIVIZ_API_TOKEN"
API_URL = "https://api.miniviz.net"
LABEL_KEY = "Local_PC"
SEND_INTERVAL = 90  # seconds

def read_sensor():
    """Fetch actual temperature and humidity from Open-Meteo API"""
    try:
        # Using Tokyo coordinates as an example
        LATITUDE = 35.6762
        LONGITUDE = 139.6503
        url = "https://api.open-meteo.com/v1/forecast"
        params = {
            "latitude": LATITUDE,
            "longitude": LONGITUDE,
            "current_weather": True,
            "hourly": "relativehumidity_2m",
        }
        res = requests.get(url, params=params, timeout=5)
        res.raise_for_status()
        data = res.json()
        temperature = data["current_weather"]["temperature"]
        humidity = data["hourly"]["relativehumidity_2m"][0]
    except Exception as e:
        # Fallback to random values if API call fails
        print(f"Warning: Failed to fetch weather data: {e}. Using random values.")
        temperature = 15 + random.randint(0, 20)
        humidity = 40 + random.randint(0, 20)

    return {
        "temperature": temperature,
        "humidity": humidity
    }

def send_data():
    url = f"{API_URL}/api/project/{PROJECT_ID}"
    headers = {"Authorization": f"Bearer {TOKEN}"}
    timestamp_ms = int(datetime.now(timezone.utc).timestamp() * 1000)

    sensor_data = read_sensor()

    response = requests.post(url, headers=headers, json={
        "timestamp": timestamp_ms,
        "label_key": LABEL_KEY,
        "payload": {
            "temperature": sensor_data["temperature"],
            "humidity": sensor_data["humidity"]
        }
    })

    if response.ok:
        data = response.json()
        print(f"Send successful (id={data.get('id')}) - Temperature: {sensor_data['temperature']:.1f}°C, Humidity: {sensor_data['humidity']:.1f}%")
    else:
        print(f"Send failed: {response.status_code} {response.text}")

if __name__ == "__main__":
    print("Starting miniviz data send test (press Ctrl+C to stop)")
    while True:
        send_data()
        time.sleep(SEND_INTERVAL)
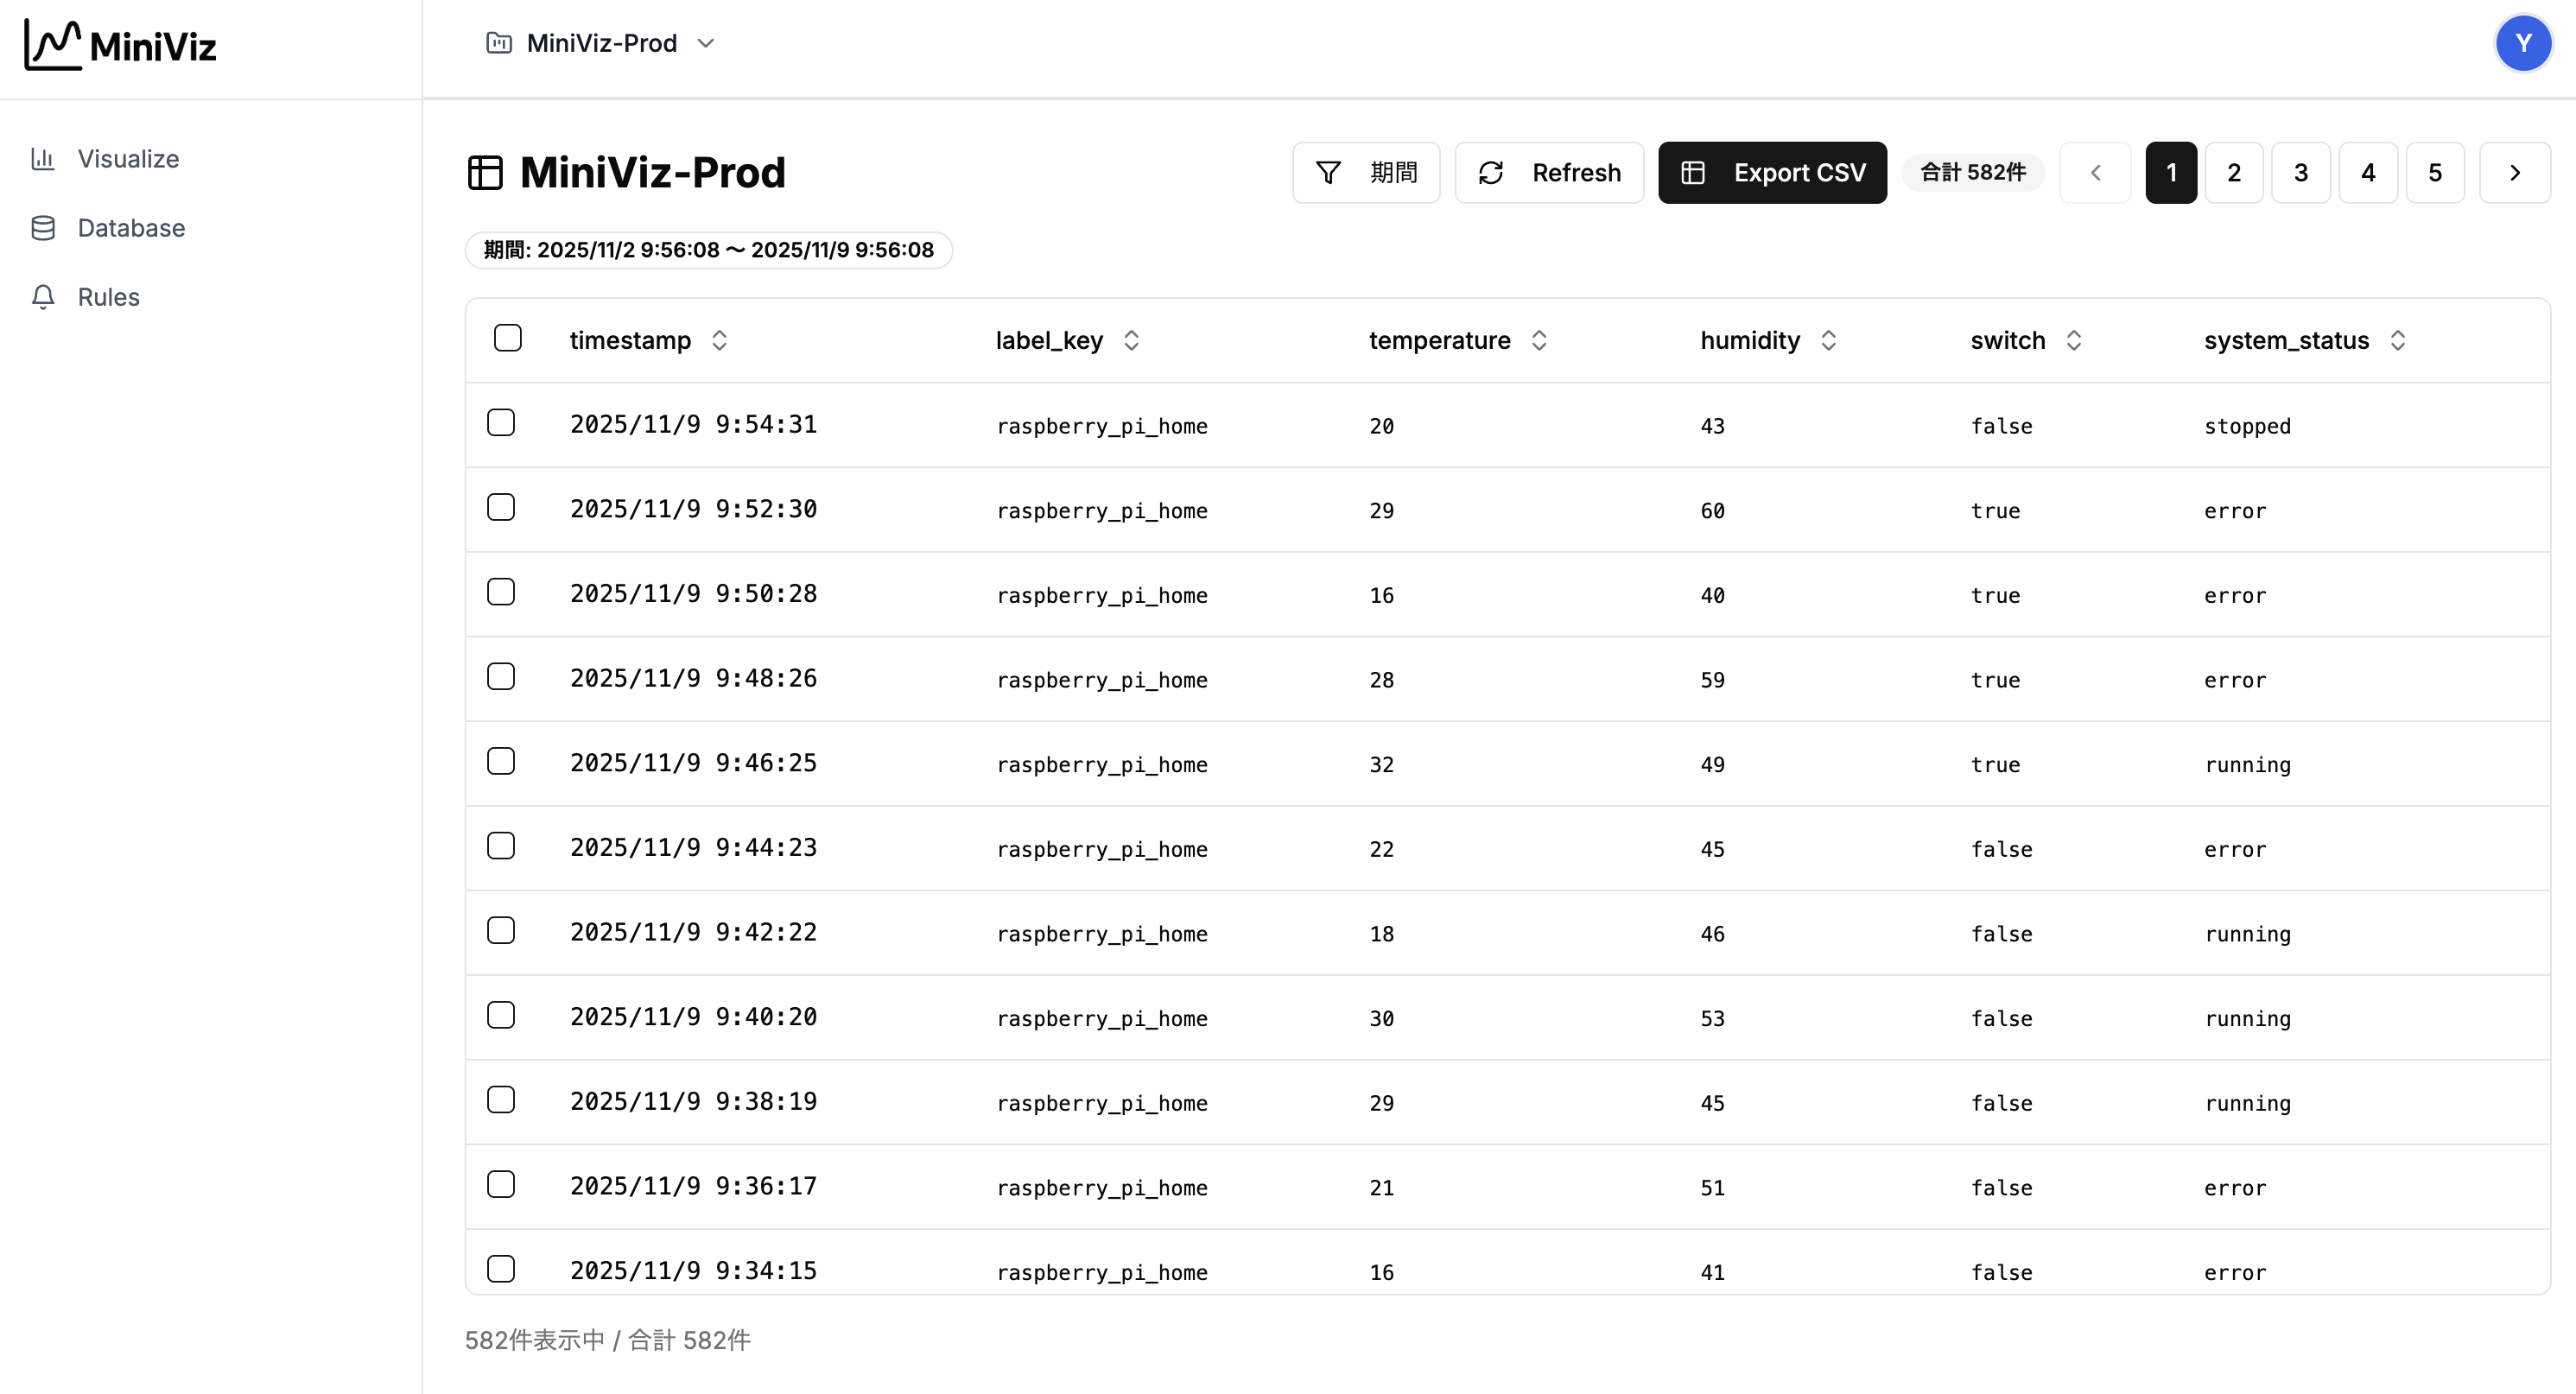
4. Check Data (Database)
Check data from the Database menu. Sent data is saved in the database. ※If data is not displayed here, data transmission has failed. Please check the device-side logs again.※
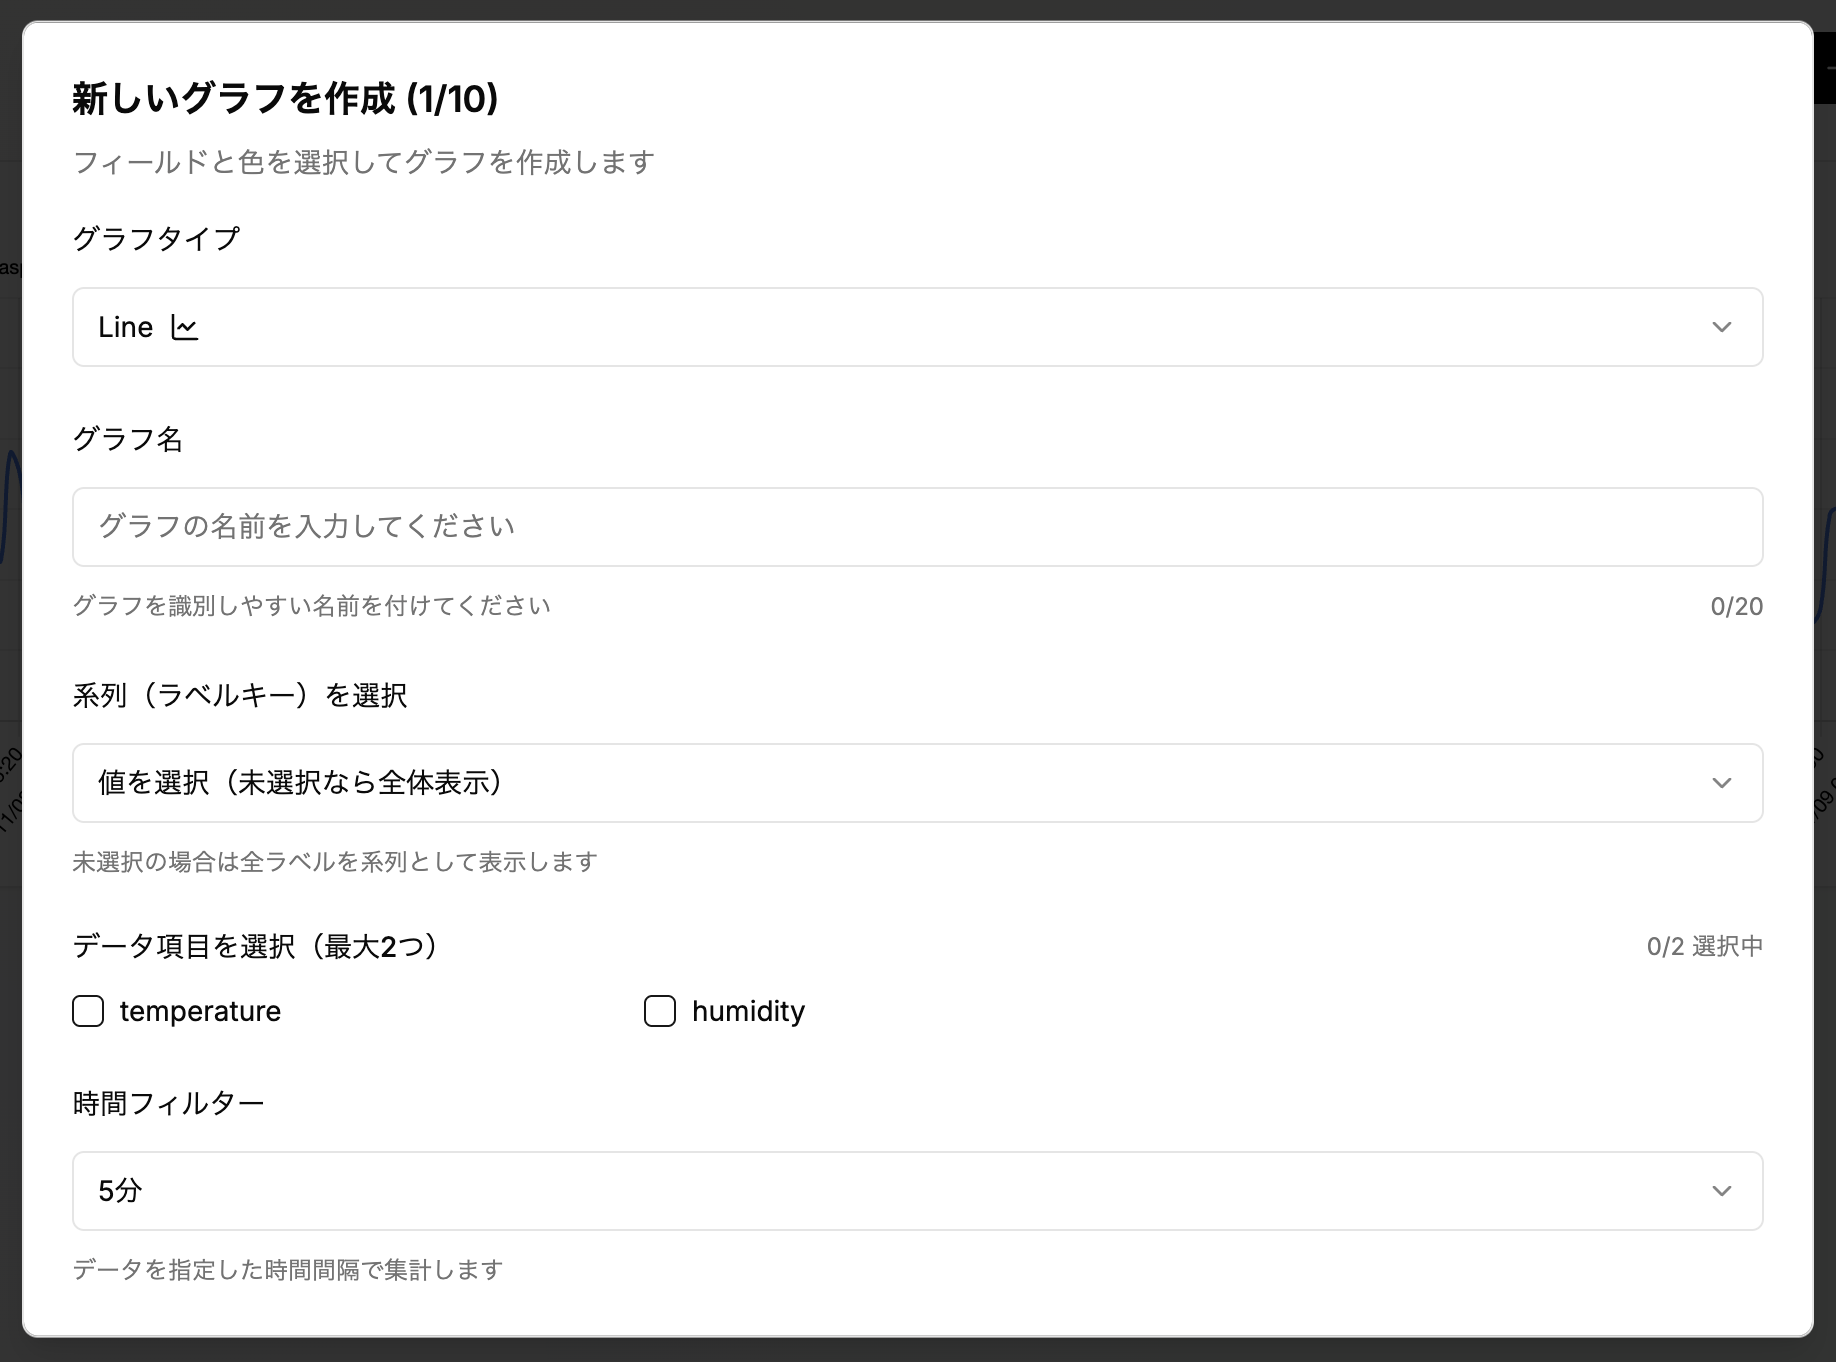
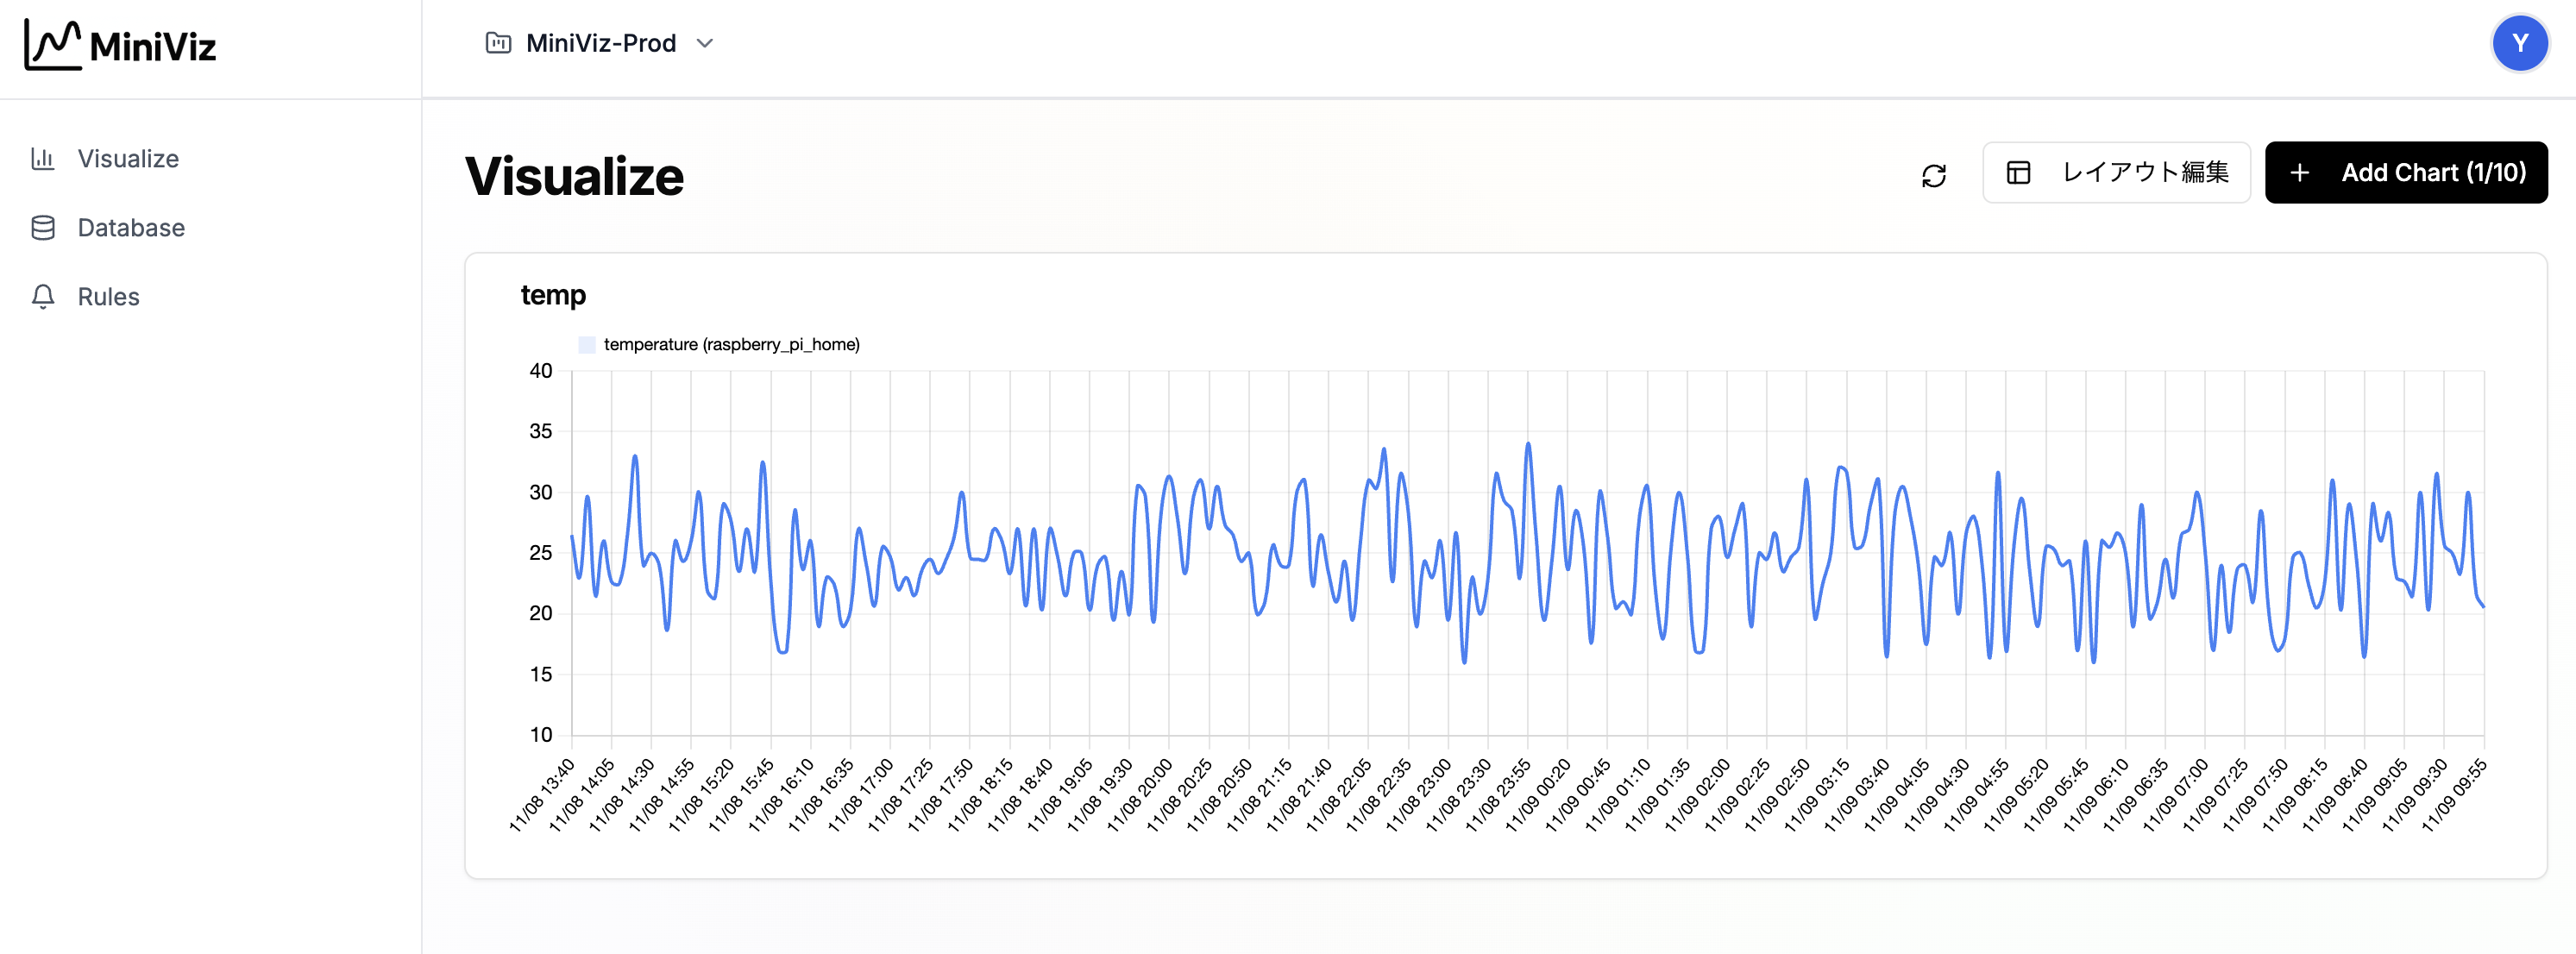
5. Create Charts
Create charts from the Visualize menu. You can create charts and configure chart types and data display formats.
After creating a line chart
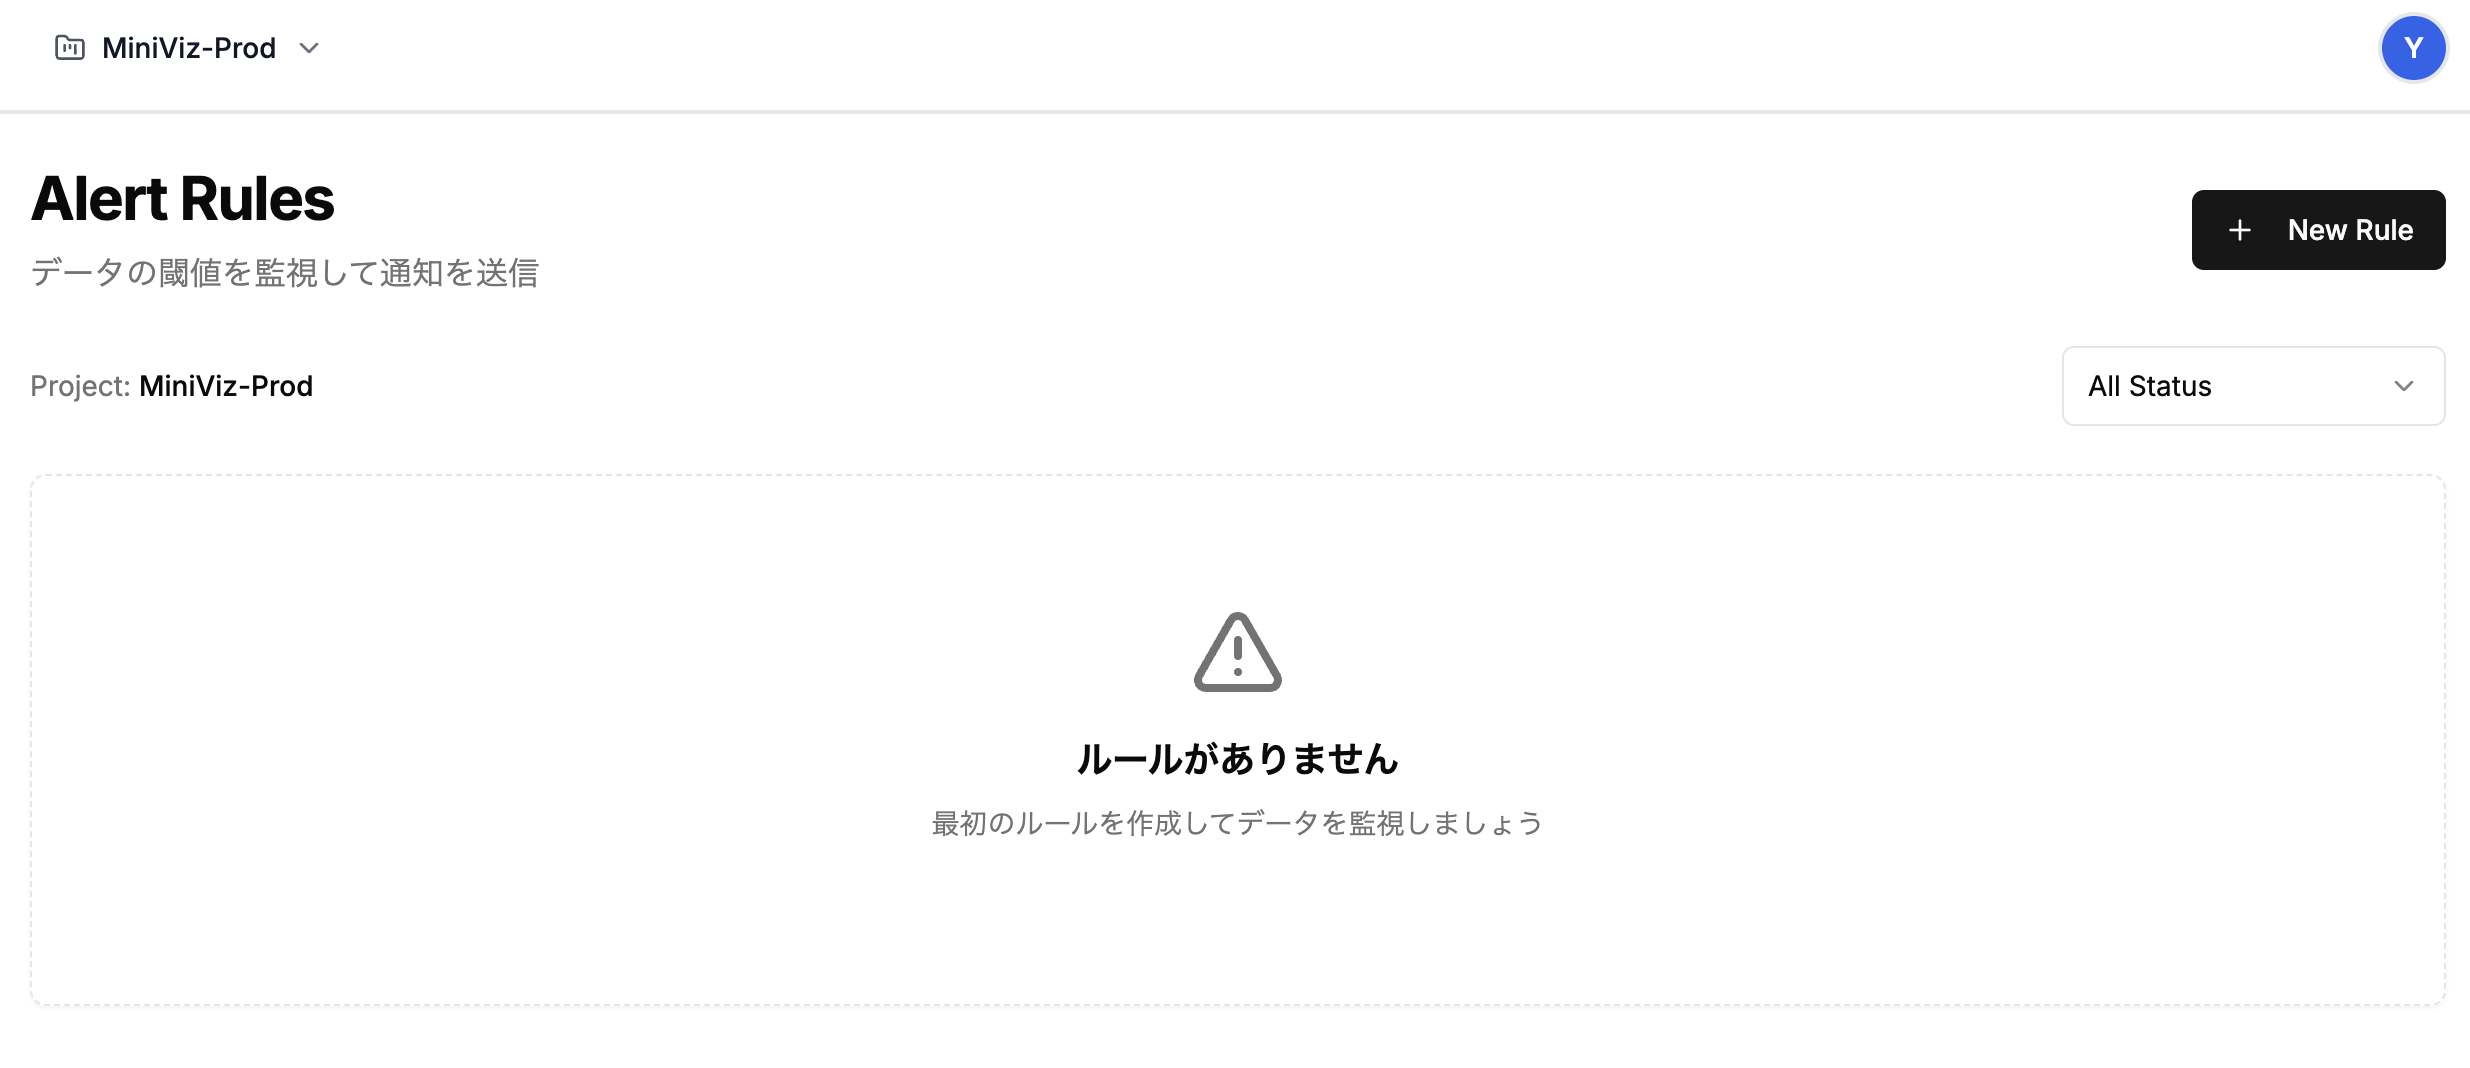
6. Notification Settings
Configure notification destinations such as Slack and Webhooks. Configure notifications from the Rules menu.
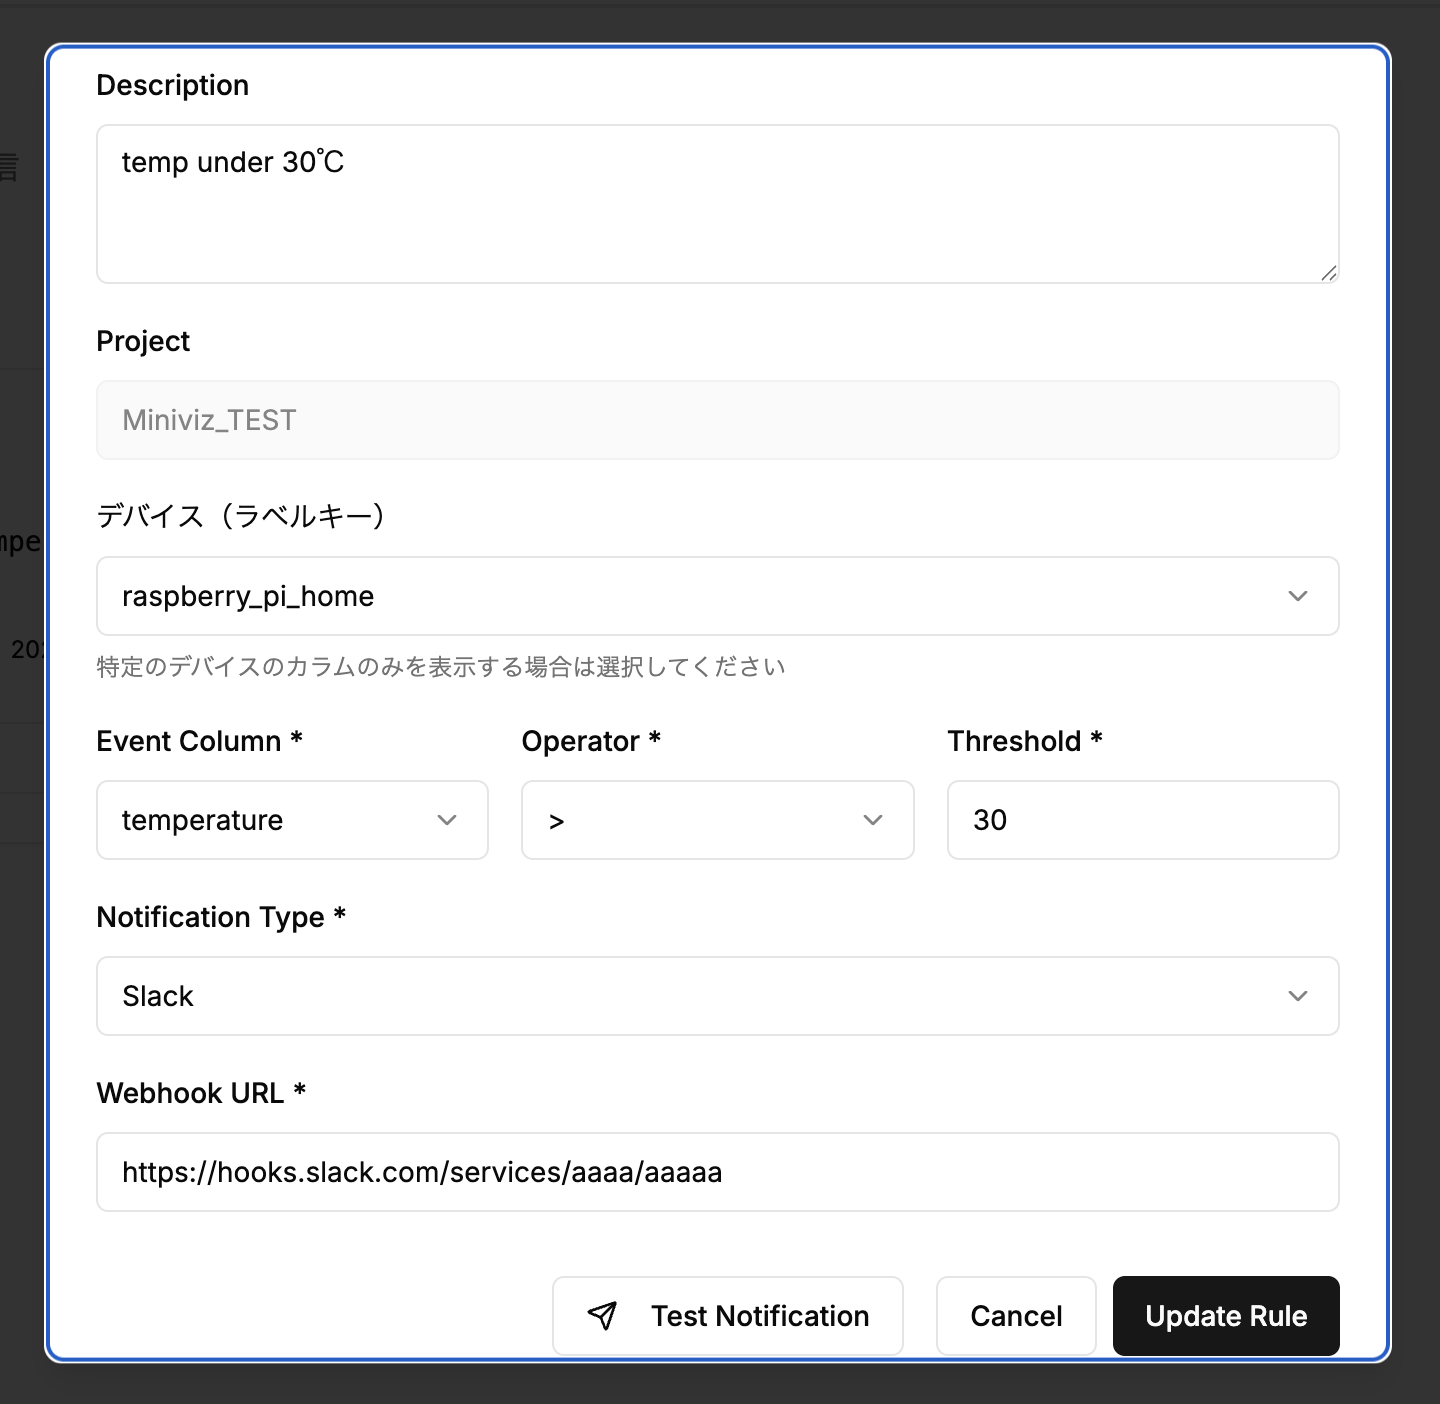
Slack Notification Settings
Configure Slack notifications.
Enter the Slack Webhook URL.
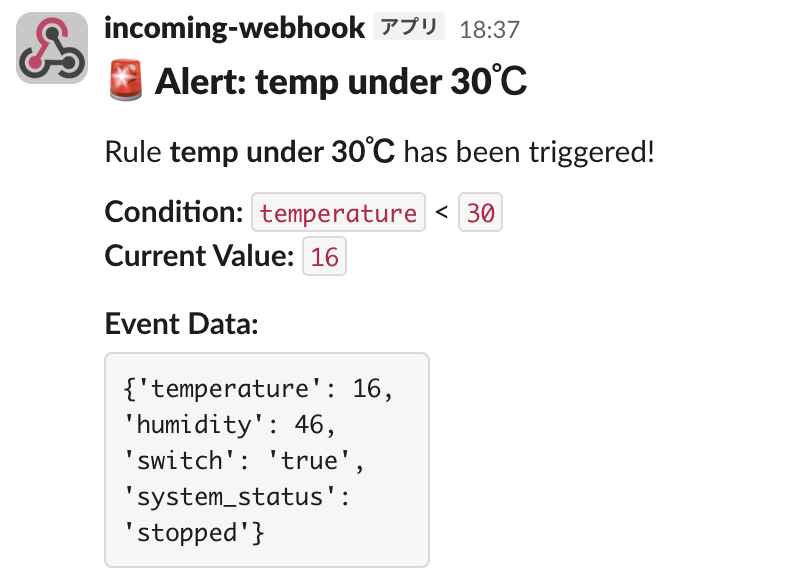
Notifications will be sent when the set threshold is exceeded.
7. Image Transmission
Pro plan users can send images using the image transmission API.
For details, see API Endpoint (Image).
Common errors
Why is my data not showing up in MiniViz?
Check the following in order:
- Project ID and token are correct
- The request body includes
timestamp,label_key, andpayload payloadcontains only flat string or number values- The device log or HTTP response does not show an API error
Why do I get a 403 error?
The most common causes are:
- The token is invalid or belongs to another project
- You are calling an endpoint that is not available on your plan
- You are using the image API without the Pro plan
Which payload types are not supported?
MiniViz does not accept these payload value types:
- Nested objects
- Arrays
- Boolean values
null